Zucchini, Zucchini, Zucchini….Zucchini?

zucchini.jpg
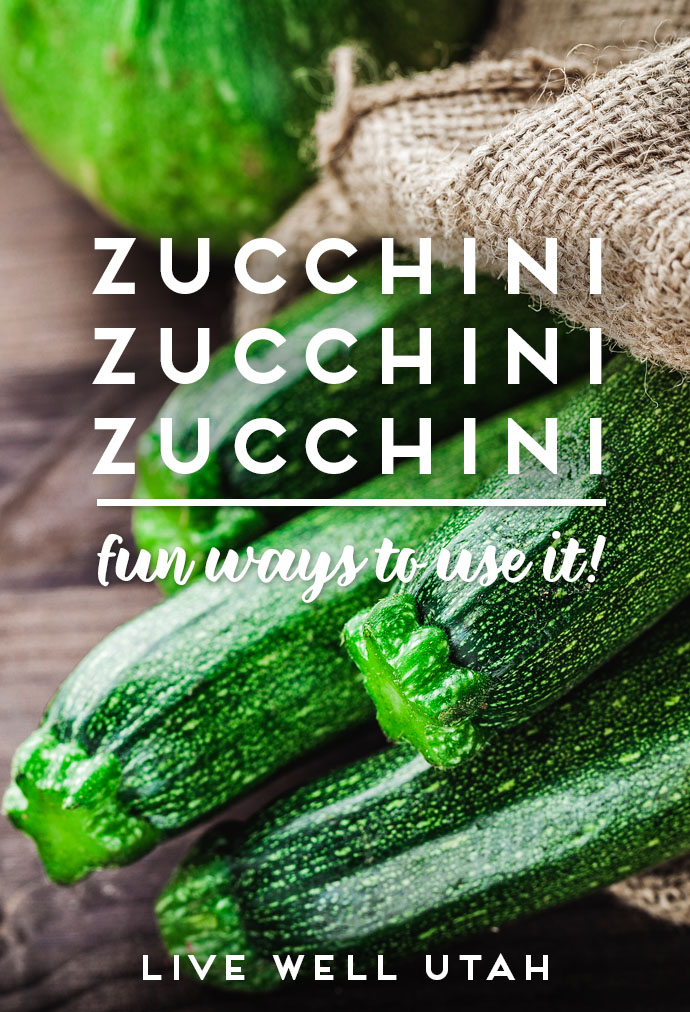
Do you have more zucchini than you know what to do with? Give these recipes a try!


I’ve never met anyone who has too little zucchini. It is easy to grow…and grow it does! Zucchini is a healthy vegetable — with a surprisingly high amount of vitamin C. Other than making your basic zucchini bread or once again making fried zucchini for the millionth time, there are many other fun ways to use it.

Home Canning

Although it is NOT recommended to can cubed or sliced zucchini (or other summer squash), there are tested zucchini canning recipes. Safe recipes are available for zucchini-pineapple and pickled bread-and-butter zucchini. The added acid in these recipes helps make them safe.

Check out the fact sheet “Preserving the Harvest: Zucchini

Freezing

Shredded zucchini freezes beautifully and can be pulled out year-round to make up a yummy chocolate zucchini cake!

For directions on how to freeze zucchini go here.

Want the yummy chocolate zucchini cake recipe too? Try this one

Drying

Few people think about it – but zucchini actually dries quite nicely.

Choose young, slender zucchini. (Those huge overgrown zucchini won’t be very tasty once you dry them). Cut into ¼-inch slices, and dry at 125 F until brittle. Dried zucchini works nicely in soups and casseroles.

Squash Blossoms

What? Eat the blossoms? You bet! They are edible and quite tasty either raw or cooked. Cut the blossoms midday when the petals are open, and leave a bit of stem. Rinse blossoms and put them in ice water until ready to use. You will want to use the blossoms up within 4-6 hours.

Squash Blossom Frittata

  • 3-4 zucchini blossoms
  • 1-2 baby squash
  • 4 eggs
  • Dash of milk
  • 2 green onions
  • Asiago cheese
  • Chopped parsley and snipped chives (optional)
  • Salt and pepper to taste

Pick 3 to 4 blossoms per person and 1 or 2 baby yellow or green summer squash. Rinse blossoms well and drain on paper towels. Beat 4 eggs with a little milk. Add fresh chopped parsley and snipped chives, if desired. Add salt and pepper to taste. In a non-stick pan, sauté a little butter and cook 2 green onions and thinly sliced baby squash just until soft. Then quickly sauté the blossoms for about 30 seconds and remove from pan. Pour egg mix into pan, sprinkle and arrange the onions, squash and blossoms on top and cook over low-to-medium heat until almost set. Sprinkle with Asiago cheese and put under the broiler until lightly puffed and browned.

So — do you have some new ideas? I hope so! However, if you are still on the hunt for a great zucchini bread recipe, check this one out. Included are helpful step-by-step directions and tips.


This article was written by Darlene Christensen, USU Extension associate professor, 435-277-2406, darlene.christensen@usu.edu

References:

https://snaped.fns.usda.gov/seasonal-produce-guide/summer-squash

https://extension.illinois.edu/veggies/ssquash.cfm


Create Family Mealtime // 4 Tips for Success

Create Family Mealtime

We know eating together as a family is important, but sometimes it can be tough. Try these tips to make your family meals a success, and make an effort to eat together as a family during National Family Mealtime month in September.


With school starting, it may feel like your family is getting pulled in all directions.  Piano practice, football games, swim team tryouts, school projects, and study groups may be filling up your family’s schedule.  An important way to keep your family connected in busy times is having meals together.  Family meals have been associated with improved diets, academic performance and vocabularies. They also decrease the risk of children experiencing depression, eating disorders, and drug/alcohol use.

This may be why September has been declared National Family Mealtime month, and Healthy Family Meals month in Utah. Here are some tips that can help make family mealtime a habit.

  1. Plan and prioritize. Make family mealtime a priority by planning it in your day.  Plan when, where, and what you will be eating.  Let your family know that it is important for everyone to be present.  Take time each month (or a few times a month) to plan your meals.  This can help you save time and money throughout the month.
  2. Make it work for your family.  Is family dinnertime not working?  Try family breakfast, lunch, or afterschool snack time.  Just take time to sit together, share a healthy meal (or snack), and connect as a family.
  3. Ditch the electronics.   With so much socializing happening online, we can lose touch with the art of conversation.  Help your family spend time together undistracted by turning off or putting away cell phones and other electronic devices.  Parents, this includes your devices too!
  4. Keep it simple and fun.  Family mealtime doesn’t need to be a source of stress.  By planning your meal and involving the whole family in the prep and cleanup, you can keep it from being a burden.  Also, don’t put too much pressure on yourself that it has to be a certain way (see tip # 2).  Use this time to talk about your days and fun memories.  Avoid discussing topics that may lead to contention: discipline, etc.

Equipped with these tips, we invite you to take the pledge to start the habit of more family mealtimes this September.

For more family mealtime tips, check out our resources at CreateBetterHealth.usu.edu.


This article was written by LaCee Jimenez, Food $ense (SNAP-Ed) Coordinator with Utah State University Extension


Farmers Market Salsa Showdown

Salsa ShowdownFarmers markets: we’ve told you where to find them, why to shop them, and how to meal plan around what you find there. Many have special events and activities to help create a community around the farmers market. At the USU Botanical Center Farmers Market, there is a children’s activity each week, and some sort of free, special event. Some weeks they have Aggie Ice Cream tasting, other weeks a cooking demonstration. This week, on August 31, they’ll be having a salsa showdown. Check it out Thursday— you can bring your best salsa to enter, or just come and sample the different entries. Can’t come on Thursday? Use those garden fresh tomatoes and try one of these recipes from the 2016 Salsa Showdown.


Fresh Tomato Salsa

Recipe by Shawn Olsen

Ingredients:

  • 6-8 ripe tomatoes, diced (approximately 5 cups)
  • 1 cucumber, diced
  • 1 Anaheim or Big Jim pepper
  • 1/2 cup diced onion
  • 1/3 cup cilantro, chopped
  • 4 tablespoons vinegar
  • Up to 1/4 cup salsa seasoning mix (Mrs. Wages or Ball Fiesta Salsa)

Directions:

In a large bowl, combine diced tomato and cucumber. Remove seeds from pepper, and chop finely. Add pepper, onion, cilantro and vinegar to tomato and cucumber, and mix well. Add salsa seasoning, to taste. Start with a small amount of seasoning, taste salsa, and add more if desired. Store in refrigerator.


Fresh Peach-Mango Medley Salsa

Recipe by Shelley Ekman

Ingredients:

  • 1 cup diced peaches, skin removed
  • 1 cup diced mango, skin removed
  • 1 cup diced red onion
  • 1 cup diced Sweet 100 cherry tomatoes
  • 1 cup diced Berns yellow pear tomatoes
  • 3 bell peppers, seeded and diced (red, yellow, and orange)
  • 3 jalapeno peppers, seeded and diced
  • 1/3 cup cilantro, chopped
  • 5 cloves garlic, pressed or minced
  • 1/2 teaspoon sea salt
  • 1/2 cup apple cider vinegar
  • 1/4 cup lime juice

Directions:

Place all diced fruit, vegetables and cilantro in a large bowl. In a small bowl, combine remaining ingredients with a whisk, and pour over salsa. Stir to combine, and adjust seasoning and vinegar to taste. Store in refrigerator.


Safe Babysitting Tips for Summer and Fall

Safe Babysitting Tips.jpgHelp prepare your older children to be responsible babysitters with these tips and ideas.


Is your son or daughter interested in babysitting? It’s important to help youth understand that watching kids is a big responsibility, and keeping them safe adds to their duties. Here are ideas to discuss with them to help keep the children they tend safe.


  • Always wear and reapply sunscreen. As a general guideline, the SPF number is the number of minutes you can go before you need to reapply the sunscreen.
  • Keep your eyes on the children at all times when you are around water, including ponds and swimming pools. Kids can get hurt even on slip and slides, so keep your eyes out for possible danger.
  • Be aware of hot cement. The cement can often get so hot that it burns the kids’ feet. If you want to have fun with sidewalk chalk, find a shady part of the sidewalk where children can draw their creations.
  • Be aware of strangers. Play in the backyard as much as possible. If this is not possible, keep an eye out for strangers and suspicious vehicles.
  • Drink plenty of water, especially if you are outside and sweating and losing water. Both you and the kids need to stay hydrated.
  • Be aware of the temperature outside. If it is above 90 degrees, it is probably safer to find something to do inside.
  • Prepare simple snacks that are healthy and safe. Make sure vegetables, fruits and hot dogs are cut up in small pieces. Don’t give children a treat on a stick unless they are sitting down to eat it. Running around and eating food on a stick could cause them to fall and jam the stick in their throat.
  • Have a first aid kit handy.
  • Have fun and be safe!

Another responsibility a babysitter has is dealing with tantrums, bad behavior and irrationality. These behaviors can often be handled through a time out. Attached is a recipe for a glitter “calm down jar” that also doubles as a timer. As kids focus on the settling glitter, it helps them calm down. Once all the glitter settles, the time out is over. It can be found here. Your youth may want to add a “calm down jar”  to their babysitting kit.


This article was written by Kayla Orton, Intern with Utah State University Extension – Salt Lake County


Chill Out! Tips for Freezing Fresh Produce

chill out
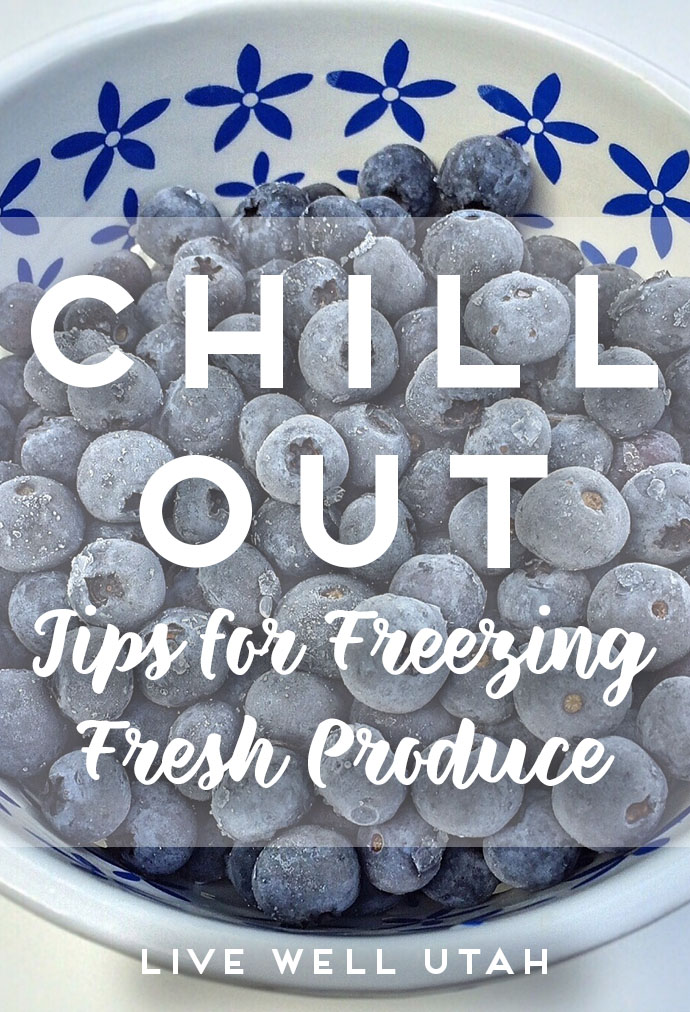
During the summer, fruits and vegetables are abundant — so don’t waste the opportunity for fresh produce because you may not have time to bottle it. Chill out: Use your freezer!


Freezing is safe, fast and gives the freshest taste with the highest nutrition of any preservation method. Freezing doesn’t kill bacteria—so make sure you wash and package your produce well–but it does slow or prevent bacterial growth because of the low temperatures.

A few tips:

  • Freezers should be kept at 0º F
  • Package in rigid, freezer-safe containers or freezer bags. Make sure to label them!
  • Vegetables are best blanched and cooled before being frozen. It stops the ripening action.
    • There are a few exceptions: Sweet or hot peppers can be washed and thrown in freezer bags to be used later in salsas or ….whatever! Onions may also be frozen without blanching—but double bag them to prevent odor transfers to other foods.
  • Fruits typically need no pretreatment, but for convenience sake, wash/drain, then freeze the individual pieces of fruit on a tray. Once they are frozen (about an hour), take them off the tray and put them in freezer bags. When you want to eat them, you can take out the amount you plan to use, rather than thawing the entire bag.
  • For small berries, the less handling the better. Wash/drain them and put them in one layer in a freezer bag. Put the freezer bags flat on the tray in the freezer. That way they freeze as individual pieces, but you aren’t repacking and breaking them in pieces.
  • For best quality, do not let frozen fruit totally thaw before eating: the freezing process damages the cell structure and they tend to be mushy. Put them out to eat when they still have ice crystals on them.
  • Tomatoes can be washed and frozen to be used in salsa later with their peelings on. To peel the skins later, pour boiling water over them, and the peelings will slip off. Let the tomatoes thaw a little before trying to chop them for the salsa.
  • Measure any fruit to be used in a recipe while it is still a little frozen to get a realistic picture of how much you are using. Include any liquid from the thawing in the measurement.

For more information, look in the freezing section of the National Center for Home Food Preservation website.

Chill out—and enjoy the fruits of your labors!


This article was written by Cathy Merrill, FCS Extension Assistant Professor, USU Extension, Utah County


4 Simple Swaps for a Healthier Lunchbox

Lunch Swaps

What’s for lunch? If you’ve got kids going back to school, chances are you’re thinking about what you’ll send with them in their lunchboxes. Try these simple changes to make their lunches healthier.


With kids going back to school, it is time to get back into the habit of packing lunch boxes.  Here are some simple swaps that can help you make them more nutritious.

1)   Use water or low-fat milk instead of sugared-beverages. Water is great for keeping little ones hydrated.  You can add fruit or herbs to infuse it with flavor.  Let your kids pick their favorite ones to personalize their water bottles.  Low-fat milk is another great option that packs a nutritious boost with calcium and protein.

2)   Stick with whole grain bread and wraps instead of white.  Fiber in whole grains can help your kids feel fuller for longer.  Whole grain breads and wraps also maintain more vitamins and minerals.  

3)   Add whole fruit instead of fruit snacks.  As one of my favorite professors once said, “Grapes are nature’s candy.”  Fruit can be a sweet treat for your kids that provides much more nutrients and less preservatives and dyes than fruit snacks and other fruit-like candy.

4)   Include some veggies instead of no veggies.  Vegetables can be one of the more challenging food groups to get kids to eat.  Let them pick the vegetables they would like to pack.  Use dinnertime and snack time at home as opportunities to introduce them to a variety of vegetables to help them decide what kinds they like best.

Following these steps can help your lunchboxes follow USDA MyPlate recommendations and give your kids a balanced diet that will help get them through their school day.  As you prepare your lunchbox menus for the week, invite your kids to be involved.  They will be more invested in eating something, if they feel like they have a say in what goes in their lunchbox.    

These tips are great for adult lunches too.  Taking your own lunch to work can help you eat well and save money.


This article was written by LaCee Jimenez – Food $ense (SNAP-Ed) Coordinator


Sleep Superheroes

Sleep SuperheroesA light supper, a good night’s sleep, and a fine morning have often made a hero of the same man who, by indigestion, a restless night, and a rainy morning, would have proved a coward.

–Lord Chesterfield


As parents, we know our children need a healthy, balanced diet to perform well in school. However, do we recognize what a vital role sleep plays in student performance? Teenagers extend their waking hours to accommodate school, work, sports and social life, cutting back on hours meant for sleep. Yet, whether they are teenagers or younger kids, even Superheroes need sleep to be at their best! Research shows that:

  • Shortened sleep times seem to cause higher levels of anxiety (Silva, et al. 2017).
  • Shortened sleep times seem to cause an increase in feelings of hunger, but a decrease in food enjoyment (Silva, et al. 2017).
  • A one-hour increase of sleep time is associated with a 14 percent decrease in the odds of being obese (Timmermans, et al., 2017).
  • Teenagers who consistently went to bed late craved more high-sugar foods at breakfast, and then continued to eat 53 percent  more food throughout the day (Asarnow, et al., 2017).
  • These same teenagers, when they altered their habits and went to bed earlier, voluntarily chose healthier foods for breakfast (Asarnow, et al., 2017).

Less anxiety, decrease in obesity, healthier food choices…there’s no question that sleep should be  an important part of your Superhero’s diet!


This article was written by Cathy Merrill, Family and Consumer Sciences, Extension Assistant Professor, USU Extension, Utah County

References:

Asarnow, L.D., Greer, S.M., Walker, M.P., & Harvey, A.G. (2017). The impact of sleep improvementon food choices in adolescents with late bedtimes. Journal of Adolescent Health, 60¸ 570-576.  Accessed at  http://dx.doi.org/10.1016/j.jadohealth.2016.11.018

Silva, A.A.S.C., do Vale Cardoso Lopes, T., Teixeira, K.R., Mendes, J.A., de Souza Borba, M.E., Mota, M.C.,

Waterhouse, J., Crispim, C.A. (2017). The association between anxiety, hunger, the enjoyment of eating foods and the satiety after food intake in individuals working a night shift compared with after taking a nocturnal sleep: A prospective and observational study. Appetite, 108, 255-262. Accessed at http://dx.doi.org/10.1016/j.appet.2016.10.005  

Timmermans, M., Mackenbach, J.D., Charreire, H., Bardos, H., Compernolle, S., De Bourdeaudhuij, I., Oppert, J.-M., Rutter, H., McKee, M., Lakerveld, J. (2017). Preventive Medicine, 100, 25-32. Accessed at http://dx.doi.org/10.1026/j.ypmed.2017.03.021


Good News for Steam Canner Use!

Steam CanningGrandma used a steam canner all summer long, but you’ve heard they are not safe. Read up on what the latest research has to say about steam canning.


For decades, home food preservers have been told that boiling water-bath canners were the only approved way to process high acid foods (fruits, pickles, jams and jellies). The main reason for the recommendation was because there had not been adequate research performed on steam canners to the satisfaction of food preservation specialists at USDA and the National Center for Home Food Preservation (NCHFP).

In an article published in Food Protection Trends titled, “Atmospheric Steam Canners Can Provide a Safe Alternative to Boiling Water Canning for Acid Foods,” authors including Drs. Barbara Ingham, University of Wisconsin, and Elizabeth Andress, Director of the NCHFP, provide the conditions and guidelines for safely using steam canners at home. These are summarized below.

1- Process only food products that are high in acid in an atmospheric steam canner; the food pH must be less than or equal to pH 4.6. Low acid foods (including meat and vegetables) must still be processed using a steam pressure canner.

2- Use a current, research-tested recipe developed for boiling water canners with steam canners. Approved recipes may be found in the USDA Complete Guide to Home Canning, at the National Center for Home Food Processing and Preservation (nchfp.uga.edu) or in the Ball Blue Book Guide to Preserving but not in atmospheric steam canner instruction booklets. Factsheets and booklets produced by University Extension offices throughout the country are also approved when they reference one or more of these sources.

3- Monitor temperature in the steam canner to make sure that the process time begins only when the temperature of pure steam is reached. To better facilitate this, some steam canners are equipped with a built-in temperature sensor in the dome lid. Note that 212 F cannot reached at high altitudes without the use of steam under pressure. Therefore, additional processing time is required to effectively kill harmful bacteria/micro-organisms.

4- Heat jars prior to filling. Keep jars hot prior to the start of the processing time. To minimize cooling of jars, preheat both steam canners and boiling water canners before adding hot jars filled with food.

5- Make altitude adjustments. For elevations above 1,000 feet, the increased processing times recommended in research-tested recipes for boiling water canners should be followed.

6- To prevent the canner from boiling dry, limit processing time to 45 minutes or less. This exempts many tomato products —  especially those in quart-sized jars. Consumers must not open the canner to add water during the process; doing so will lower the temperature and may result in under-processed, unsafe food.

7- Cool jars in still, ambient (room) temperature air. Most microbial kill occurs during air cooling; thus the cooling procedure is extremely important. Do not cool jars in water, in the refrigerator, in front of a fan or by hastening the cooling process in any other way.

To access the complete article describing safely using atmospheric steam canners, visit http://nchfp.uga.edu/publications/nchfp/factsheets/steam_canners.html. If you have further questions regarding any of the above guidelines, please contact your local USU Extension Office.


Kathleen Riggs is the Utah State University Extension family and consumer sciences professor for Iron County. Questions or comments may be sent to kathleen.riggs@usu.edu or call 435-586-8132.


How to Keep Your Relationship Strong

Keep Your Relationship Strong

Keep your relationship strong by removing these three blocks, and replacing them with things that will build your relationship.


[youtube https://www.youtube.com/watch?v=U8BtJflgI5I?version=3&rel=1&showsearch=0&showinfo=1&iv_load_policy=1&fs=1&hl=en-US&autohide=2&wmode=transparent&w=863&h=486]


Slow Cooker Boston Brown Bread

Boston Brown BreadReady or not, school will be starting soon for many Utah kids (if it hasn’t already). When kids walk in the door after school, they are STARVING. Let the aroma of this crockpot bread entice them beyond the cookie jar. It’s ready when they are!


Slow Cooker Boston Brown Bread

Ingredients:

  • 2 c wheat flour
  • 1/2 c rye flour
  • 1/2 c cornmeal
  • 2 tsp baking soda
  • 1 tsp salt
  • 1/2 c powdered milk
  • 1/2 c sugar, honey, or molasses
  • 2 T apple cider vinegar
  • 2 c water
  • optional: 1 c raisins, 1/4 c sunflower seeds

Directions:

Mix wet and dry ingredients separately, then combine and mix briefly to moisten thoroughly. Place dough in greased #10 can, loaf pan, bundt cake pan, or make a 2/3 batch and grease two spaghetti sauce cans – whatever will fit in your crockpot with the lid on. Add enough water to reach halfway up the sides of the pan, put the crockpot lid on (with tinfoil, if necessary) and cook on low overnight or all day, or on high for 3-5 hours. Let cool before taking the bread from the pans.


Recipe courtesy of Rachel Dittli. Submitted by Cathy Merrill, Family and Consumer Sciences, Extension Assistant Professor, USU Extension, Utah County